How to Weatherproof Your Home Before Winter
Sealing leaks and adding insulation before winter reduces heat loss and can lower heating costs, depending on your home's condition and how much of the work you do.
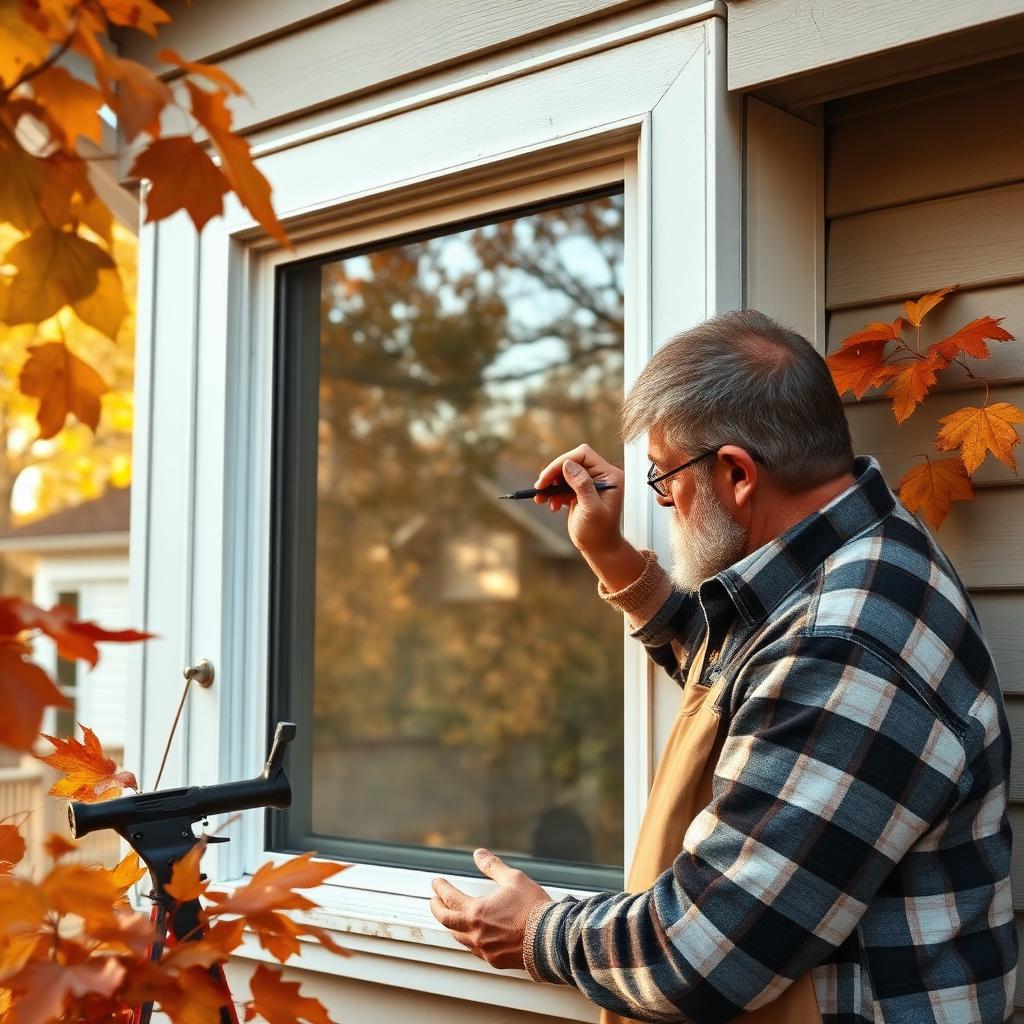
The U.S. Department of Energy estimates that sealing air leaks and adding insulation can save the average homeowner 10% to 15% on annual heating and cooling. In dollar terms, that is often $200 to $600 a year for the price of a few tubes of caulk and a weekend of work.
Weatherproofing sounds vague. In practice it is a specific list of leaks to seal, gaskets to swap, and small mechanical fixes that add up. Here is the sequence I run every fall, ranked by payoff.
Find the Leaks First
Before you buy a single product, spend 30 minutes finding leaks. Walk the interior of the house on a windy day with a lit incense stick or the palm of a wet hand near suspect spots: window and door frames, electrical outlets on exterior walls, attic hatches, dryer vents, and where plumbing enters walls.
For a comprehensive check, many utility companies offer free or subsidized blower door tests. Ask your local utility — the diagnostic is often worth $300+ and free to you.
Replace Weather Stripping on Doors and Windows
Weather stripping is the rubber, felt, or foam gasket that seals the gap around movable doors and windows. It compresses and cracks over 5 to 10 years; when you can see daylight or feel a draft, it is done.
Adhesive-backed foam works for windows and low-traffic doors ($5 per window). V-strip vinyl is more durable for main entry doors ($15 per door). Kerf-in door weatherstripping (installed in a slot) is best for exterior doors that see daily use.
- Foam tape for windows: 3–5 minutes per window
- V-strip vinyl for entry doors: 20 minutes per door
- Door sweep on the bottom of exterior doors: 15 minutes and $10
Caulk Exterior Gaps
Every gap on the exterior of the house — around window trim, door trim, siding-to-brick transitions, hose bibs, exterior faucets — should be sealed with a quality exterior caulk. Silicone or hybrid polymer caulks outperform pure latex in freeze-thaw climates.
Work in temperatures above 40°F for proper cure. Cut the tip at a 45-degree angle, use a caulk gun with a smooth trigger, and tool the bead with a wet finger for a clean finish.
Seal Electrical Outlets on Exterior Walls
Outlets on exterior walls are a surprising source of drafts. Foam gaskets that sit between the wall and the cover plate cost $2 per pack of 10 and take 30 seconds each to install.
Turn the breaker off first, remove the cover, insert the gasket, replace the cover. Do it for every outlet and light switch on an exterior wall.
Attic and Basement: The Big Payoffs
The attic hatch or pull-down stair is often the largest single air leak in an older home. Weather-strip the perimeter and add a rigid foam board on the attic side.
In the basement, seal the rim joist (the wooden band around the perimeter at the top of the foundation) with cans of expanding foam or cut-to-fit rigid foam board. This one project alone often reduces winter heating bills 5% to 10%.
Add Insulation Where It's Missing
Most U.S. homes are under-insulated in the attic. The Department of Energy recommends R-38 to R-60 for attics depending on climate zone; if your existing insulation is less than 12 inches deep, adding another layer of blown-in cellulose or fiberglass is one of the most effective home efficiency projects available. Energy.gov: Insulation for Homeowners
Renting a blower from a big-box store is often free with a bulk insulation purchase, and a 1,200-square-foot attic upgrade typically runs $500 to $900 DIY.
Insulate Windows Without Replacing Them
Full window replacement is rarely cost-effective purely for energy savings — payback periods often exceed 20 years. Instead, use interior storm window inserts or shrink-film kits for a fraction of the cost.
Heavy insulating curtains closed at night on the north and west sides of the house also make a measurable difference in bedrooms.
Tune the Heating System
A pre-season furnace tune-up ($100 to $180) checks combustion efficiency, replaces filters, and catches failing igniters and blower motors before they die on the coldest night of the year.
While you're at it, install a programmable or smart thermostat if you haven't. Setting back 7 to 10°F for eight hours a day (overnight and when nobody's home) saves roughly 10% annually with zero comfort loss. Energy.gov: Thermostats
Frequently Asked Questions
How much can weatherproofing help save?
The Department of Energy estimates 10–15% off annual heating and cooling — typically $200 to $600 for a U.S. household, depending on climate and home size.
Is it worth replacing my windows for energy savings?
Rarely on energy savings alone — payback often exceeds 20 years. Replace when frames are rotted or seals are failed. Otherwise, weather-strip, caulk, and use interior storm inserts.
Which weatherproofing project should I do first?
Air-sealing the attic hatch and rim joist, then adding attic insulation. Sealing leaks before adding insulation usually does more for a heating bill than any single upgrade further down the list, though the payback depends on your climate and how leaky the house is now.
When should I do this?
Ideally in September or October, while temperatures are still above 40°F so caulk and foam cure properly. Sooner is better than later.
Conclusion
Work in order of leak size: attic bypasses and rim joists first, then doors and windows, then the small gaps around pipes and outlets. A weekend with a caulk gun, weather stripping, and a few cans of spray foam is usually enough, and the difference tends to show on winter utility bills. Energy.gov: Weatherize Your Home
About the author
DIY & Home Maintenance Contributor
Emily writes the weekend build and upkeep pieces — cut lists, tools, what a project actually costs, and where a job is better handed to a licensed trade.
More from Emily CarterPublished · Updated
Related articles
Seasonal Home Maintenance Checklist: What to Check Throughout the Year
Regular maintenance can help identify problems earlier and may reduce the likelihood of unexpected repair costs. This checklist keeps your HVAC, roof, plumbing, and yard in shape.
Winterizing Your Garden and Home Before the First Freeze
One focused weekend of winterizing prevents burst pipes, split shrubs, and cracked hardscape. Here is the sequence recommended for residential properties.

A Homeowner Guide to Creating an Outdoor Living Space
A design-forward, homeowner-friendly playbook for turning a plain yard into an outdoor living space you actually use every week.
Fresh home & garden ideas, every Sunday.
Join American homeowners getting practical home & garden advice on gardening, landscaping, and DIY. Free, no spam, unsubscribe anytime.